Mig welding, also known as gas metal arc welding (GMAW), is a popular method of joining metal pieces together. Efficient and relatively easy to use, mig welders can be found in workshops and fabrication plants worldwide. Whether you are a seasoned professional or just starting your journey in welding, learning how to use a mig welder correctly is essential. In this article, we will guide you through the fundamentals of mig welding, covering everything from setting up your machine to perfecting your welding technique. So, grab your safety gear and let’s dive into the world of mig welding!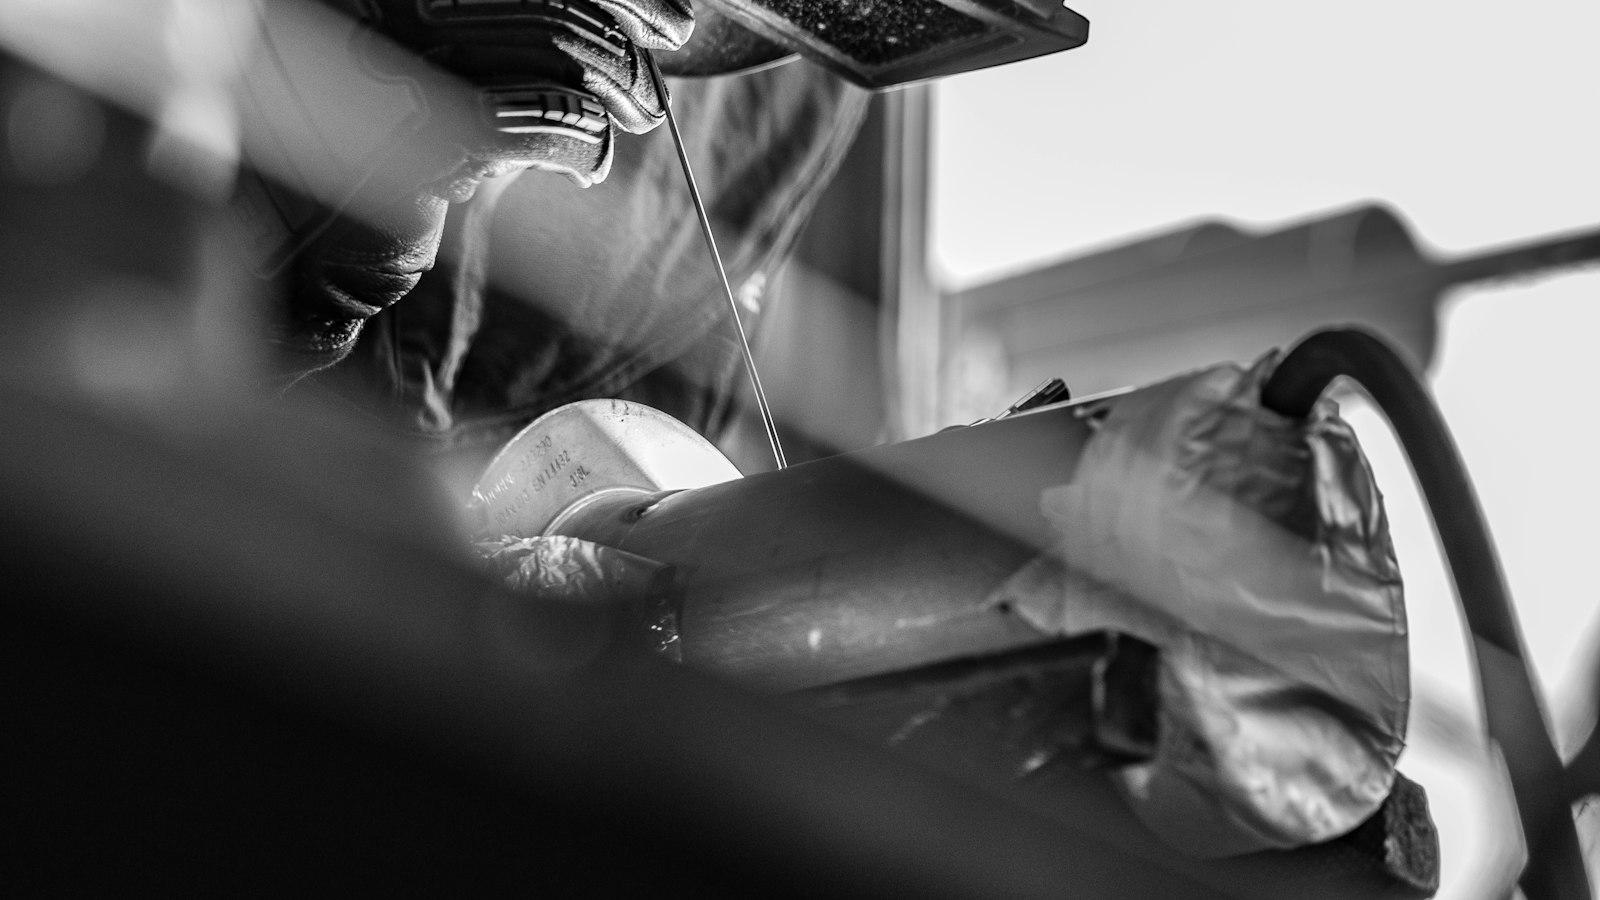
Selecting the Right Mig Welder for Your Needs
In order to effectively use a Mig welder, it is crucial to select the right one for your specific needs. With so many options available in the market, it can be overwhelming to make the right choice. However, by considering a few key factors, you can make an informed decision and ensure that the Mig welder you choose is the perfect fit for your welding projects.
1. Power and Voltage: When choosing a Mig welder, you need to consider the power and voltage that will be suitable for your welding tasks. Higher voltage welders are ideal for heavy-duty welding, while lower voltage models are more suited for smaller jobs or beginners. Assess the type of welding you’ll be performing to determine the appropriate power and voltage requirements for your Mig welder.
2. Welding Capacity: The welding capacity of a Mig welder refers to its ability to handle different thicknesses of metals. It is important to choose a welder that can handle the maximum thickness of metal you will be working with. Make sure to check the machine’s specifications, such as its amp and duty cycle, as they will give you an indication of its welding capacity.
3. Wire Feed Speed and Control: The wire feed speed and control are critical aspects of a Mig welder, as they determine the quality of the weld. Look for a machine that offers adjustable wire feed speed and control settings, allowing you to fine-tune the welding process based on the type of metal and welding technique you are using.
4. Portability and Ease of Use: Consider the portability of the Mig welder, especially if you anticipate moving it frequently or working in different locations. Look for models that are lightweight and come with convenient handles or wheels for easy transportation. Additionally, choose a welder that offers user-friendly controls and intuitive interfaces to ensure a seamless welding experience.
5. Safety Features: Safety should always be a top priority when working with a Mig welder. Choose a machine that is equipped with essential safety features such as thermal overload protection and a built-in cooling system. Also, make sure the welder has proper grounding and safety certifications to ensure safe operation.
| Brand | Power (W) | Welding Capacity | Weight (kg) |
|---|---|---|---|
| Model A | 2500 | Up to 6mm | 12 |
| Model B | 3500 | Up to 10mm | 18 |
| Model C | 4500 | Up to 12mm | 22 |
By carefully considering these factors and conducting thorough research, you can confidently select the right Mig welder that meets your specific needs and ensures successful welding projects. Remember to always prioritize safety and invest in quality equipment that will provide long-term reliability for your welding endeavors.
Understanding the Components and Controls of a Mig Welder
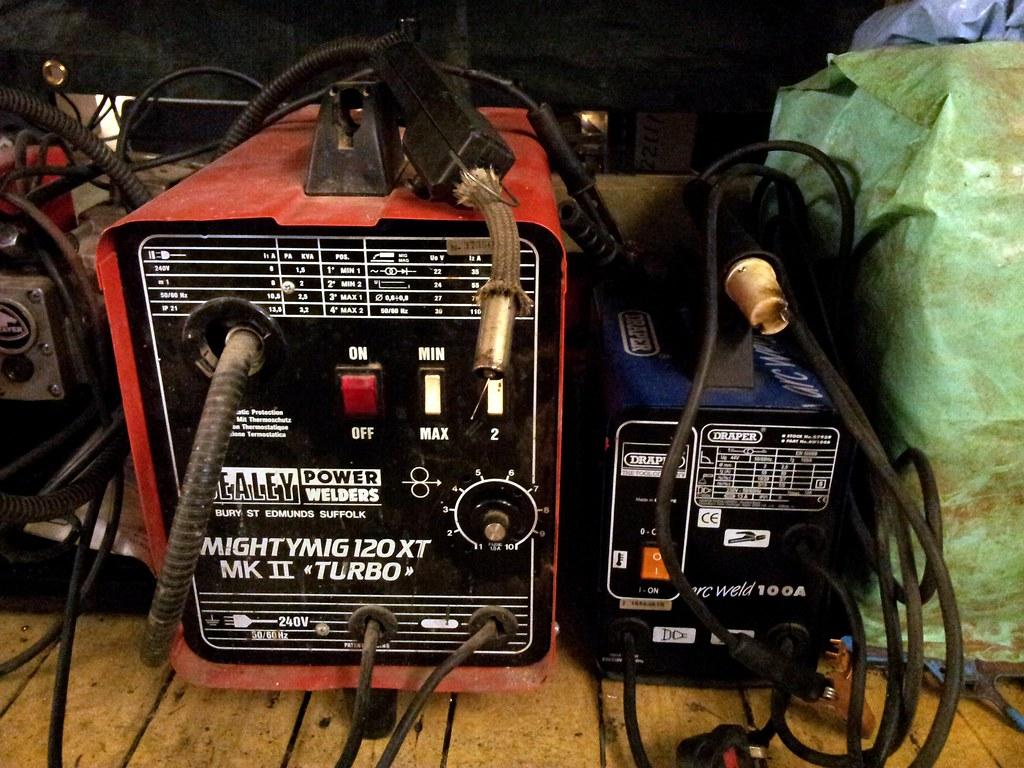
A MIG welder, also known as a Metal Inert Gas welder, is a versatile tool that allows you to join metal pieces together with precision. Whether you’re a professional welder or a DIY enthusiast, is essential to ensure safe and efficient use. In this post, we will explore the key components and controls of a MIG welder, giving you the knowledge you need to confidently operate this powerful machine.
-
Power source: The power source is the heart of a MIG welder. It provides the electricity needed to create the arc that melts the electrode wire and fuses the metal together. Most MIG welders are designed to work with standard household voltage, typically 120V or 240V. Some high-powered models may require a dedicated circuit. Ensure that the power source matches the electrical supply available to you.
-
Welding gun: The welding gun is the handheld tool that allows you to control the MIG welding process. It consists of a trigger, which controls the electrode wire feed and the gas flow, and a nozzle, which directs the shielding gas to protect the weld area. The gun is connected to the power source via a cable and can be easily maneuvered to achieve the desired welding position.
-
Wire feeder: The wire feeder is an integral part of a MIG welder as it supplies the electrode wire to the welding gun. It contains a motor-driven spool that feeds the wire through the cable and into the gun at a controlled speed. The wire feeder can be adjusted to control the feed rate, allowing you to customize the weld bead size and penetration depth.
-
Gas cylinder: MIG welding requires the use of a shielding gas to protect the weld pool from atmospheric contamination. Common shielding gases include argon, carbon dioxide, and a mix of both. The gas cylinder is an external component of a MIG welder, typically made of steel or aluminum, and should be securely attached to the welder to maintain stability during operation.
-
Controls and settings: MIG welders come equipped with various controls and settings that enable you to fine-tune the welding process. These may include voltage and amperage adjustments, wire speed control, and gas flow rate regulation. It is important to familiarize yourself with these controls and understand how they affect the quality and integrity of your welds. Always refer to the manufacturer’s guidelines and recommended settings for the specific material and thickness you are working with.
By , you can harness its full potential and achieve professional-grade welds with ease. Remember to prioritize safety at all times by wearing appropriate protective gear and ensuring proper ventilation in your workspace. With practice and a good understanding of your MIG welder, you’ll be able to tackle various welding projects with confidence and precision.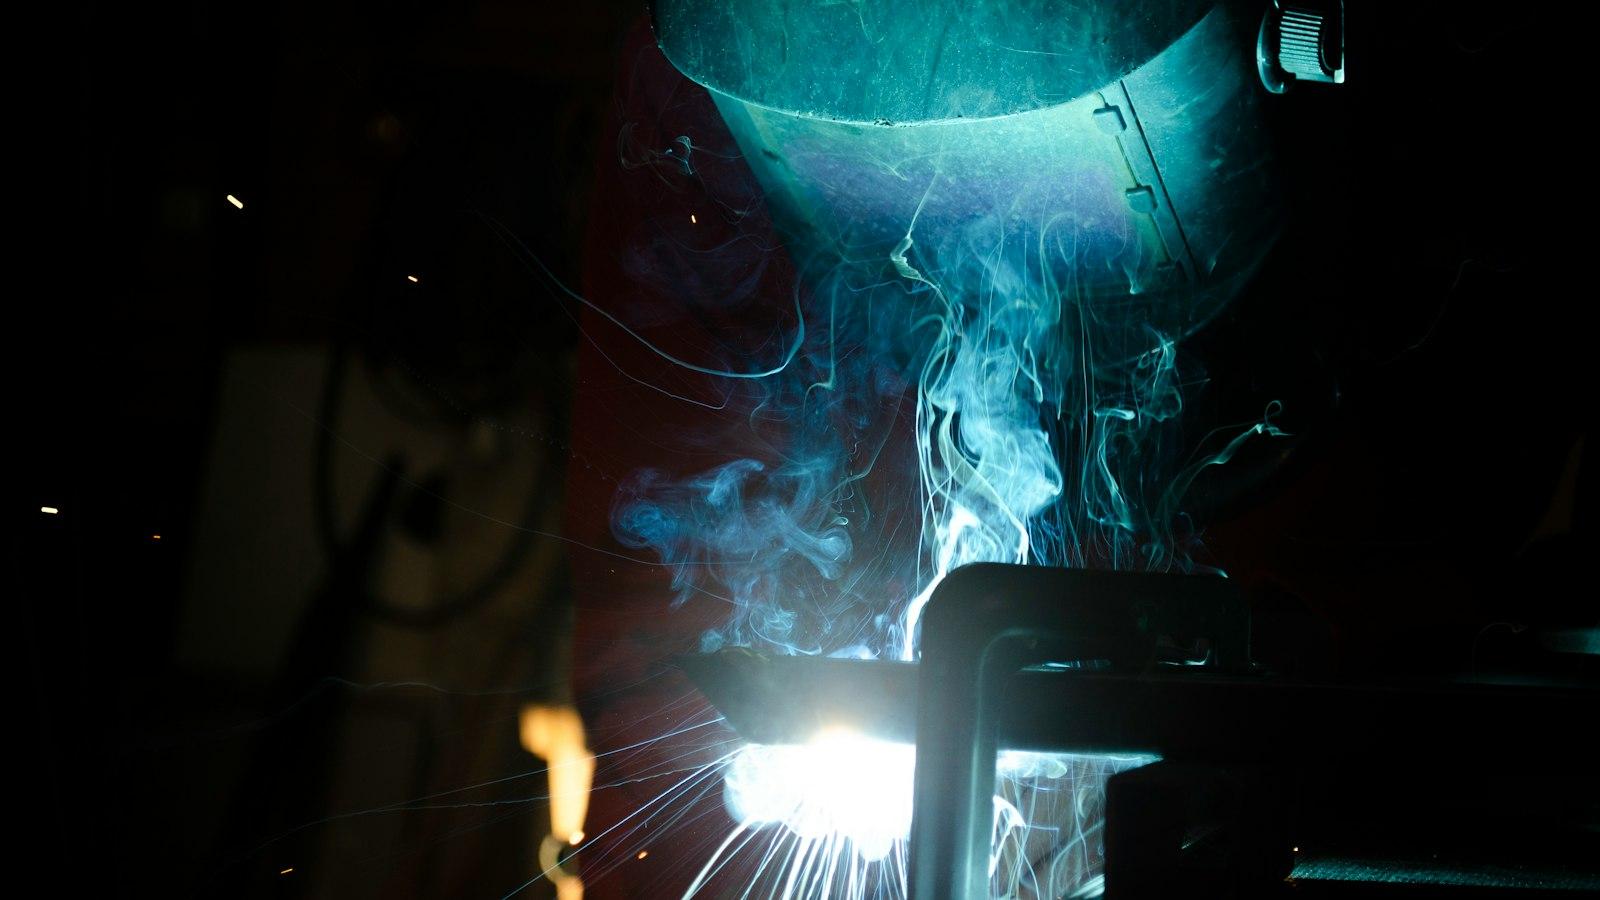
Preparing for Mig Welding: Safety Precautions and Requirements
In order to ensure your safety while using a Mig welder, it is important to adhere to certain precautions and requirements. By following these guidelines, you can minimize the risk of accidents and ensure a successful welding experience.
1. Personal Protective Equipment (PPE):
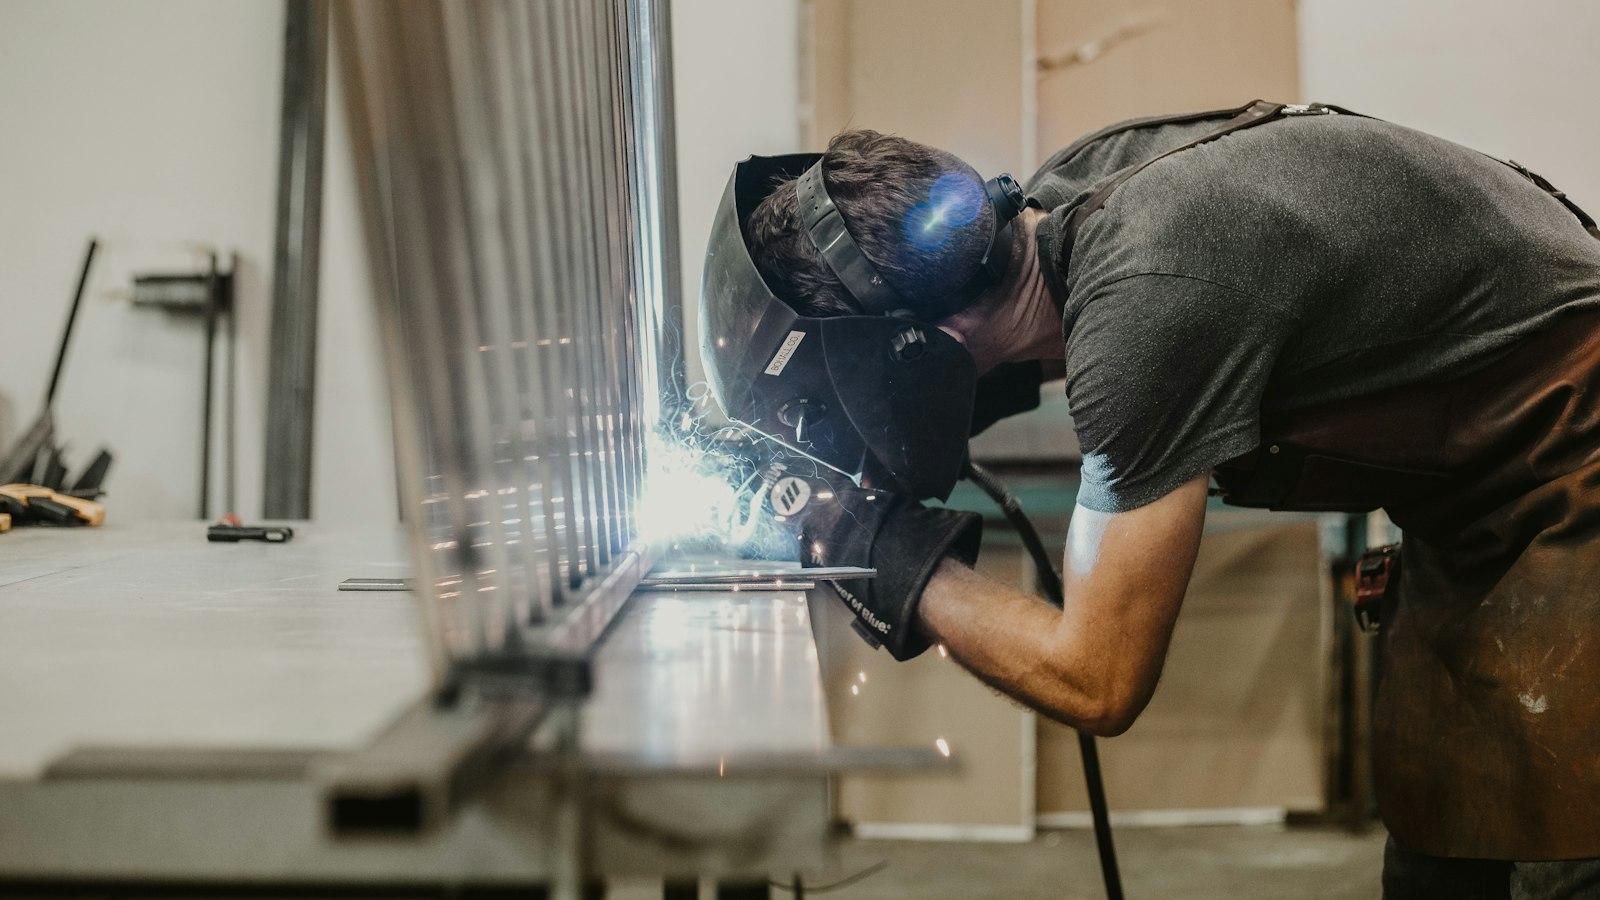
- Always wear a welding helmet with a proper shade lens to protect your eyes from harmful UV and infrared rays.
- Use heat-resistant gloves to shield your hands from burns and sparks.
- Wear a long-sleeved, flame-resistant welding jacket to protect your upper body.
- Protect your legs by wearing thick flame-resistant pants, such as denim or leather.
- Always wear closed-toe shoes or boots to protect your feet from falling objects.
2. Ventilation:
- Work in a well-ventilated area to prevent inhalation of dangerous fumes and gases produced during welding.
- If working indoors, consider using an exhaust fan or fume extraction system to remove the fumes from the work area.
- Avoid welding in confined spaces without proper ventilation.
3. Power Supply:
- Ensure that your Mig welder is properly grounded to minimize the risk of electric shock.
- Check the power supply cable for any signs of damage or wear before use.
- Always keep the power switch off when not in use.
4. Fire Safety:
- Keep a fire extinguisher nearby in case of an emergency.
- Clear the work area of any flammable materials, such as oil or grease, before starting welding.
- Ensure that there are no nearby gas cylinders or other highly combustible materials.
- Regularly inspect your welding equipment for any signs of damage or malfunction.
5. Training and Practice:
- Receive proper training and instruction on how to safely operate a Mig welder.
- Practice welding techniques on scrap metal before working on important projects.
- Always follow the manufacturer’s instructions and guidelines for your specific model of Mig welder.
- Consider taking a welding certification course to enhance your knowledge and skills.
Mastering Mig Welding Techniques: Tips and Best Practices
MIG welding, also known as Gas Metal Arc Welding (GMAW), is the preferred choice for many welders due to its versatility and ease of use. Whether you are a beginner or an experienced welder, mastering MIG welding techniques is essential to ensure clean and reliable welds. In this post, we will provide you with tips and best practices that will help you become proficient in using a MIG welder.
-
Safety First: Before you even start welding, it is crucial to prioritize safety. Always wear appropriate personal protective equipment (PPE), including a welding helmet, gloves, and a fire-resistant jacket. Ensure good ventilation in your workspace to avoid inhaling harmful fumes. Additionally, inspect your equipment regularly, paying attention to the gun, wire feed, and shielding gas to prevent any accidents or malfunctions during welding.
-
Setting Up Your MIG Welder: Properly setting up your MIG welder is vital for achieving optimal results. Begin by selecting the right wire diameter and type for your specific application. Consult the manufacturer’s recommendations or seek guidance from experienced welders. Next, adjust the wire speed and voltage settings based on the thickness of the material you are welding. Always practice on scrap pieces first to fine-tune your settings and achieve the desired weld bead appearance.
-
Maintaining a Consistent Welding Technique: Consistency is key when it comes to MIG welding. Maintain a steady travel speed and a consistent nozzle-to-work distance. Ideally, hold the MIG gun at a 15-30 degree angle and aim to achieve a tight arc length for better control. Additionally, ensure that you are pushing the weld pool rather than pulling it. This technique helps in achieving better penetration and reduces the likelihood of weld defects such as undercutting.
-
Controlling Heat Input: Controlling the heat input during MIG welding helps avoid issues like warping and burn-through. To prevent excessive heat, use a lower voltage setting and a shorter arc length for thinner materials. For thicker materials, increase the voltage and extend the arc length slightly. Remember to weld in small sections, allowing the metal to cool between passes, and using a back-step technique if necessary.
-
Proper Weld Bead Appearance: Lastly, achieving a clean and uniform weld bead is a mark of excellent MIG welding technique. Aim for a consistent width and height of the weld bead, making sure it is well-fused to the base metal. To achieve this, maintain a proper travel speed and avoid excessive weaving or overlapping. If necessary, adjust the wire feed and voltage settings to achieve the desired appearance.
By following these tips and best practices, you can enhance your skills in MIG welding and achieve professional-quality results. Remember to practice regularly and be patient with yourself as mastering MIG welding techniques takes time and experience. Happy welding!
Post-Welding Maintenance: Cleaning and Storage Recommendations
Paragraph 1:
Once you have completed your welding project using a MIG welder, it is important to follow proper maintenance techniques to ensure the longevity and effectiveness of your equipment. Proper cleaning and storage will not only keep your MIG welder in optimal condition but also help prevent any safety hazards. Here are some recommendations to help you properly maintain your welding equipment.
Paragraph 2:
Cleaning your MIG welder after each use is essential to remove any welding residue or debris that may have accumulated during the welding process. Start by disconnecting the power supply and allowing the welder to cool down completely. Using a wire brush or compressed air, carefully remove any spatter from the nozzle, contact tip, and gas diffuser. Remember to wear appropriate safety gear, such as gloves and safety glasses, to protect yourself during the cleaning process.
Paragraph 3:
In addition to cleaning the external parts, it is equally important to ensure the internal components of your MIG welder are also free from any dirt or foreign materials. Regularly inspect and clean the wire feed mechanism, ensuring that there are no obstructions or tangled wires. If needed, consult your welder’s manual for detailed instructions on how to access and clean these internal components safely.
Paragraph 4:
Proper storage of your MIG welder is crucial to maintain its performance and protect it from damage. Store your welder in a cool, dry place away from any corrosive or hazardous substances. If possible, cover your welder with a protective case or tarp to shield it from dust and moisture. Ensure that the power cord and gas hose are neatly coiled and secured to prevent any trip hazards or tangling.
Paragraph 5:
Lastly, regularly inspect your MIG welder for any signs of wear and tear. Check for loose connections, damaged cables, or worn-out consumables, such as contact tips or nozzles. Replace any faulty parts promptly to avoid compromising the quality of your welds and to improve safety. By following these cleaning and storage recommendations, you can extend the lifespan of your MIG welder and maintain its optimal performance for future welding projects. Remember, a well-maintained MIG welder is a reliable tool for achieving professional-grade welds.
Q&A
Q: What is a Mig welder and what is it used for?
A: A Mig welder, also known as a Metal Inert Gas welder or Gas Metal Arc Welder, is a tool used to join metal pieces together. It is commonly used in construction, automotive repair, and manufacturing industries.
Q: How does a Mig welder work?
A: A Mig welder operates by feeding a solid wire electrode through a welding gun, which simultaneously releases a shielding gas. The electric current passes through the wire, creating an arc that melts the metal being welded. The shielding gas, typically a mixture of argon and carbon dioxide, protects the weld from contaminants.
Q: What materials can be welded using a Mig welder?
A: Mig welders are primarily used for welding stainless steel, alloy steel, mild steel, and aluminum. However, they can also be used with other metals, depending on the appropriate wire and shielding gas.
Q: What safety precautions should be taken when using a Mig welder?
A: When using a Mig welder, it is crucial to wear protective gear such as a welding helmet, gloves, and flame-resistant clothing. Working in a well-ventilated area or using additional ventilation systems is also recommended to reduce exposure to welding fumes. Care should be taken to avoid touching hot surfaces and keeping flammable materials away from the welding area.
Q: How should I prepare the metal before welding with a Mig welder?
A: Proper surface preparation is essential for achieving high-quality welds. The metal surface should be clean and free from rust, paint, grease, or any other contaminants. Using a wire brush or grinding wheel to remove these impurities ensures a strong and durable weld.
Q: What are some common mistakes to avoid when using a Mig welder?
A: One common mistake is not adjusting the welding settings to match the metal being welded, resulting in weak or imperfect welds. Poor wire feeding, caused by incorrect wire tension or contact tip issues, can lead to inconsistent welds. Additionally, improper technique or movement speed can cause weld splatter or uneven penetration.
Q: What maintenance tasks should be performed on a Mig welder?
A: Regular maintenance is crucial to ensure your Mig welder remains in optimal condition. This involves cleaning the welding gun and contact tip regularly, inspecting and replacing worn out or damaged wires, and checking for proper gas flow. It’s also important to keep the welder’s surrounding area clean and free from dust, debris, and flammable materials.
Q: Can someone with no prior experience use a Mig welder?
A: While using a Mig welder may seem intimidating at first, it is possible for someone with no prior experience to learn. However, it is advisable to take a welding course or seek guidance from an experienced welder to understand the basic principles, safety precautions, and techniques necessary to operate a Mig welder effectively.
Q: Are there any additional tips for achieving good welds with a Mig welder?
A: Practice is key to achieving high-quality welds. Holding the welding gun steady and maintaining a consistent distance from the workpiece can help produce even and smooth welds. It is also essential to ensure the workpiece is properly grounded and to consult the welder’s manual for specific instructions regarding wire feeding speed, voltage, and gas flow rates for different types of metal. In conclusion, mastering the art of using a MIG welder can be greatly rewarding for both the seasoned welder and the enthusiastic novice. By familiarizing yourself with the equipment, safety measures, and proper techniques, you can confidently navigate through various welding projects with efficiency and precision.
Remember, always prioritize your safety by wearing appropriate protective gear, ensuring proper ventilation, and carefully handling the equipment. Taking the time to select the right wire and gas combination, adjusting voltage and wire speed settings, and maintaining proper joint preparation are key elements to achieving successful welds.
Although it may take time and practice to become proficient, don’t get discouraged. Embrace the learning process and seek opportunities to expand your skills through hands-on experience and continuous improvement. As you gain more familiarity with the MIG welder, you will gradually develop an intuitive understanding of the process, allowing you to produce clean and durable welds.
Whether it’s for home DIY projects, automotive repairs, or fabrication tasks, the versatility of a MIG welder makes it an indispensable tool in many industries. With proper knowledge, patience, and dedication, you can confidently weld various materials and create strong bonds that will stand the test of time.
So, let your curiosity guide you, and dive into the fascinating world of MIG welding. Explore, experiment, and perfect your technique. As you unlock the full potential of this versatile welding process, you’ll be able to tackle new challenges and bring your creative visions to life. Remember, practice makes perfect, and with each welding project, you’ll inch closer to mastery.
So, go ahead, grab that welding helmet, put on your safety gloves, and engage in the captivating art of MIG welding. With a solid understanding of the fundamentals, coupled with practice and determination, you’ll undoubtedly become a proficient welder capable of turning molten metal into works of art or functional structures. Good luck on your welding journey!


